Add User Account for your Business Email

Add User Account for your Business Email

Add a new Email User Account from your Business Mail Dashboard under Control Panel

For your users to start using the email services, you first need to create accounts for them. Creating a user account is fairly simple –

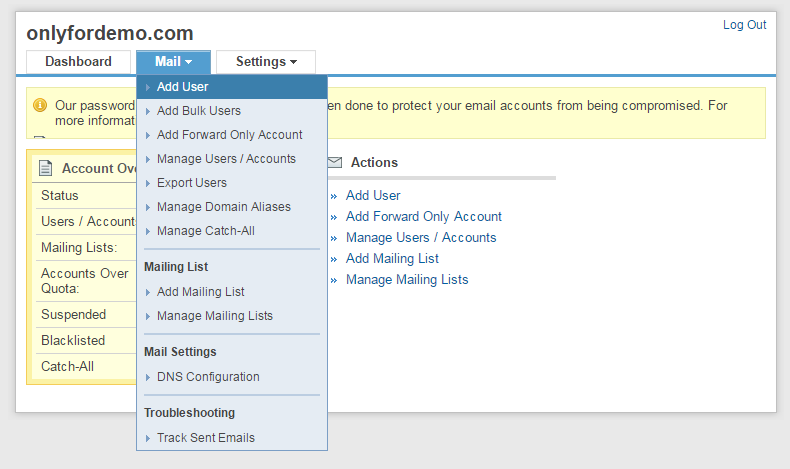
  • Go to Mail >> Add User in your control panel.

add single user 1

  1. Provide the following information about the user you are adding:
    • First and Last name
    • The email address you wish to provide this user, e.g. johnsmith@yourcompany.com
    • An alternate email address – all-important communication, such as password reminders, related to the account you are creating will be sent to this address.
    • A country that the user is based in
  2. Click on Add User to complete the creation of the account.

Once the account is created, a success page will be displayed. This page will provide details of the account that you have added, including a password that is generated for the user and server details for configuring the account in a desktop email client such as Outlook or Thunderbird. This information will automatically be emailed to the alternate email address you have provided.

Add multiple email users

 For your users to start using the email service, you need to create user accounts for them. While you can add accounts for each user one at a time, it would be a tiresome process if the number of users using the accounts was very high.

An easier way of creating a large number of accounts at once is to use the Bulk User addition tool. All you need to do is –

  • Create a CSV (comma-separated value) file containing details of all your users. You can create this file using such software as Microsoft Office Excel, or OpenOffice.org Calc. To further simplify this, you can use the sample file available in your control panel. Just go to Mail >> Add Bulk Users, and click on download a sample file.

add multiple users 1

  1. Add the following details for all your users in this file
    • Username – the email address that you want your user to have, e.g. if you wish John Smith to have the email address john.smith@yourcompany.com, you need to add the username as john.smith.
    • First and Last name
    • Password – could be any password you wish to specify for the user. (This is optional, the system will automatically generate a password for a user if one is not provided.)
    • Country code – the short-code for the country where the user is based, e.g. US for the United States, IN for India
    • Alternate Email – an alternative email address, where the user could be sent important information about their primary email address.
  2. Save this file on your computer.
  3. Upload this saved file to your account. To do so, go to Mail >> Add Bulk Users, click on
    Browse and select the saved file.
  4. Once the file has been uploaded (this may take some time, depending upon the number of users you’ve added), the entire list will be displayed on the page. If you are satisfied that the accounts are in order, click on Confirm and Upload.

It may take a while for the accounts to be created, depending on the number of users you have uploaded. You will receive an email confirmation once the accounts are added.

    • Related Articles

    • Add Email Forwarding for your User under your Business Email

      Add Forwarding from your Admin Dashboard of your Business Mail under your Control Panel You can set a forwarding address for a user account if required. By doing so, a copy of all emails sent to that user would be sent to the forwarding address you ...
    • Add Email Forwarding for your User under your Enterprise Email

      Add Forwarding from your Admin Dashboard of your Enterprise Mail under your Control Panel You can set a forwarding address for a user account if required. By doing so, a copy of all emails sent to that user would be sent to the forwarding address you ...
    • Add New User Account from your Admin Console

      Add a user account to your Admin console  Tip: Try the Home page quick link. On your Admin console Home page, click Add a user, and go to step 5 below. First switch to an administrator account. This will open the Google Admin Console. From the Admin ...
    • Email Client Configuration for your Business Email

      Configuring your Email Client Now that you have located and identified the settings you need, you can proceed to configure your Email Client accordingly. Based on which product you have with us viz. Free Email, Business Email, or Enterprise Email, ...
    • Add Auto Email Forwarding in your Gmail

      Automatically forward Gmail messages to another account You can choose to forward all of your new messages to another email address, or only forward certain types of messages.  Set up automatic forwarding  You can automatically forward your messages ...